HDB Defects Inspection Checklist: What to Check Before Renovation
A room-by-room checklist for new HDB flat owners, plus the official 1-year Defects Liability Period, HDB’s advice to report within one month and the rectification process.
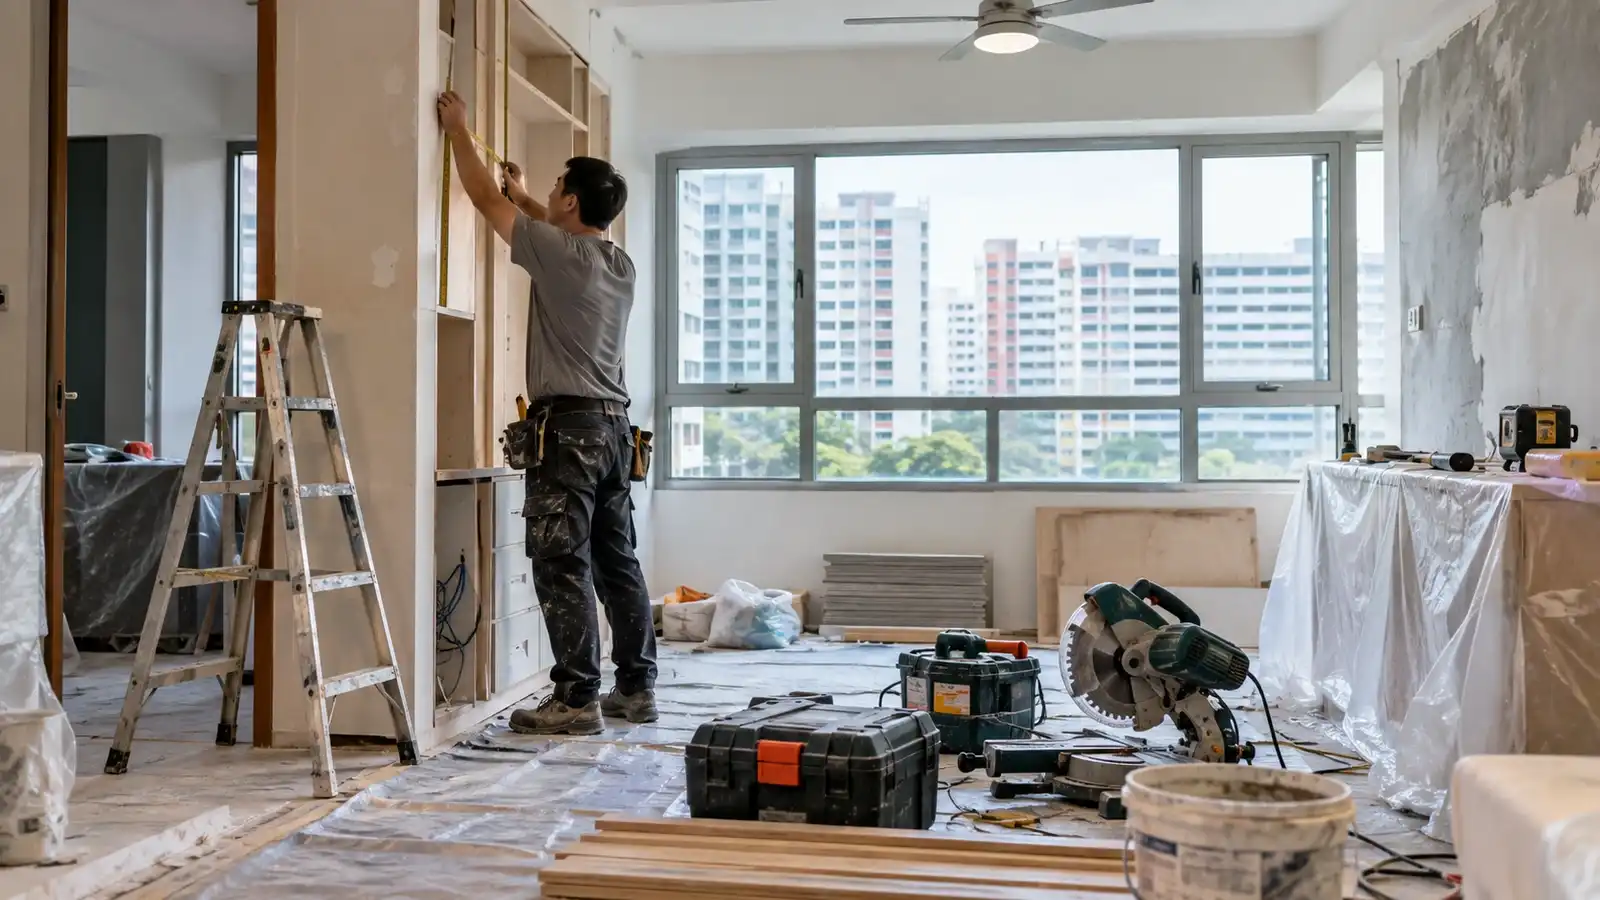
A room-by-room checklist for new HDB flat owners, plus the official 1-year Defects Liability Period, HDB’s advice to report within one month and the rectification process.
- Defects Liability Period
- 1 year from key collection
- HDB reporting advice
- Report items within 1 month of key collection and before renovation starts
- Where to report
- Online via the QR code provided by HDB or at the precinct Building Service Centre
- What happens next
- Joint inspection, rectification, then closing inspection
- Typical repair timing
- HDB says repairs usually take less than 2 weeks
- Best time to inspect
- Before contractors begin renovation work
A room-by-room checklist for new HDB flat owners, plus the official 1-year Defects Liability Period, HDB’s advice to report within one month and the rectification process.
Key Takeaways
- The one-year DLP does not mean you should wait a year: HDB advises reporting items within one month of key collection and before renovation begins.
- Photograph and list each issue room by room so the joint inspection can distinguish inherent defects from later renovation damage.
- Check function as well as appearance—doors, windows, water flow, drainage, sockets, sanitary fittings, tiles and built-in HDB-provided components.
How the HDB Defects Liability Period works
Newly completed HDB flats are covered by a one-year Defects Liability Period (DLP) from the date of key collection. During the DLP, HDB follows up on items in the flat that require rectification.
There is an important practical distinction: the DLP lasts one year, but HDB says it is important to report items within one month of key collection and before renovation works begin. Reporting early reduces disputes about whether damage was already present or was caused by renovation.
What to bring before you start inspecting
- Your phone for dated photos and video.
- A simple checklist or notes app organised by room.
- A charger or small appliance for basic power-point checks where safe.
- Tissue or dry paper for spotting minor water leaks.
- A small flashlight for cabinets, service areas and corners.
- Painter’s tape or removable labels if you want to mark locations for discussion.
This is a homeowner inspection, not a substitute for specialist electrical, structural or plumbing assessment where a safety issue is suspected.
1. Entrance, doors and windows
- Open and close the main door and room doors; check alignment, handles, locks and obvious rubbing.
- Check window panels, handles and latches for smooth operation.
- Look for cracked glass, damaged frames, gaps or obvious seal problems.
- Inspect walls around windows for staining or signs of water ingress.
2. Walls, floors and tiles
- Look for visible cracks, chips, uneven finishes and damaged skirting.
- Inspect provided floor tiles for cracks, chips, loose areas or obvious lippage.
- Check wall tiles in wet areas for visible damage and poor finishing.
- Record the exact location of each problem rather than writing “tiles defective”.
A hollow-sounding tile does not automatically prove a defect that requires replacement, so document the condition and let the joint inspection determine the rectification approach.
3. Bathrooms, plumbing and drainage
- Run taps and showers to confirm water flows and drains normally.
- Flush toilets several times and check around visible connections for leaks.
- Check basins, taps, floor traps and supplied sanitary fittings for chips or damage.
- Watch whether water pools in an unusual area rather than moving toward the intended floor trap.
If you see active leakage, significant ponding or a safety concern, report it promptly rather than waiting to bundle it with cosmetic items.
4. Electrical points and supplied fittings
Visually inspect sockets, switches and supplied fittings for obvious damage, loose faceplates or poor alignment. Do not dismantle electrical accessories yourself. If something appears unsafe, stop using it and raise the issue through the appropriate HDB or licensed electrical channel.
For later renovation works, see our HDB Renovation Rules 2026 and HDB Air-Con Installation Rules.
5. Kitchen, service yard and household shelter
- Inspect HDB-provided windows, doors, floor finishes and visible plumbing points.
- Check that drains are unobstructed and there are no obvious leaks.
- Look at corners and service areas for cracks, stains or unfinished surfaces.
- Take clear photos before carpentry, hacking or flooring works begin.
How to report defects to HDB
HDB says owners can submit a rectification request online using the QR code in the Welcome Kit or on the notice placed in the kitchen. A temporary Building Service Centre (BSC) is also set up within walking distance of new precincts.
After submission, the BSC arranges a joint inspection to verify the reported items and assigns contractors for rectification. HDB says repair work usually takes less than two weeks, although the actual period depends on the work required.
What happens after rectification?
After the work is completed, the BSC arranges a closing inspection. Check the repaired items before signing off and keep your photos and defect list for reference.
If your renovation cannot wait, HDB notes that some rectification can be carried out during renovation if it does not hinder the works, or afterward. It is still better to report early so there is a clear record before renovation changes the flat.
One month vs one year: the point owners often misunderstand
One year is the DLP. One month is HDB’s advice for reporting items after key collection and before renovation. The one-month advice helps establish whether an issue was inherent in the new flat; it is not described by HDB as replacing the one-year DLP.
Sources
Primary sources used for this guide: